💧 Keeping Your Water Cooler Sparkling & Safe — Even If It Wasn’t Supplied By Us!
There’s nothing quite like an ice-cold glass of water to refresh your day. Whether you’re in an office, gym, school, factory or workshop, your water cooler should be a fountain of freshness — not a science experiment.
At H2O Vend, we believe every business deserves clean, safe, delicious drinking water — even if the cooler wasn’t originally supplied by us. Yes, you heard right: we service and sanitise bottled and mains-fed (POU) water coolers from any manufacturer.
Let’s start by looking at why cooler sanitisation matters, what services we offer, and how you can even carry out a DIY sanitisation using our quality products!
Why Water Cooler Sanitisation Really Matters
You brush your teeth every day. You’d wash your mug if you used it every day. But when was the last time your water cooler got a bit of attention?
Water coolers – whether bottle-fed or point-of-use (POU) filtered – are constant workhorses. They’re frequently touched, constantly cycling water, and operating in environments that are… let’s say, not always spotless. Over time, what starts as clear, refreshing water can harbour bacterial build-up, limescale, biofilm and unpleasant smells.
The Risks of a Dirty Cooler
Lingering smells or tastes in the water
Bacterial or microbial build-up
Sluggish cooling or heating performance
Premature filter or component wear
Embarrassing meetings when someone takes a swig and makes that face
Sounds dramatic? It doesn’t have to be. With regular servicing and good sanitisation, you’ll keep those issues well at bay — and your staff, visitors and customers happily hydrated.
Our Sanitisation & Service Options
At H2O Vend, we like options — because no two coolers (or workplaces!) are the same. Here’s what we can do for you:
1. One-Off Sanitisation & Service
Perfect if:
You’ve just moved premises
You’ve inherited a cooler from a previous provider
You’re preparing for an inspection or event
It just feels grim and needs a hygienic reset
Our engineers will:
✔️ Flush and clean the cooler’s internal reservoir
✔️ Sanitise all water pathways
✔️ Replace or recommend filters
✔️ Descale where needed
✔️ Check for leaks or mechanical issues
✔️ Leave it gleaming and healthy
2. Rolling Maintenance Contract
The best option if you want year-round peace of mind.
We’ll visit regularly (schedule to suit you) to:
✔️ Check system performance
✔️ Replace filters
✔️ Sanitise and descale
✔️ Ensure your cooler is healthy and humming happily
Benefits of a contract:
Predictable costs
Never forget a service date
Maximum performance & longevity
Happy staff and customers
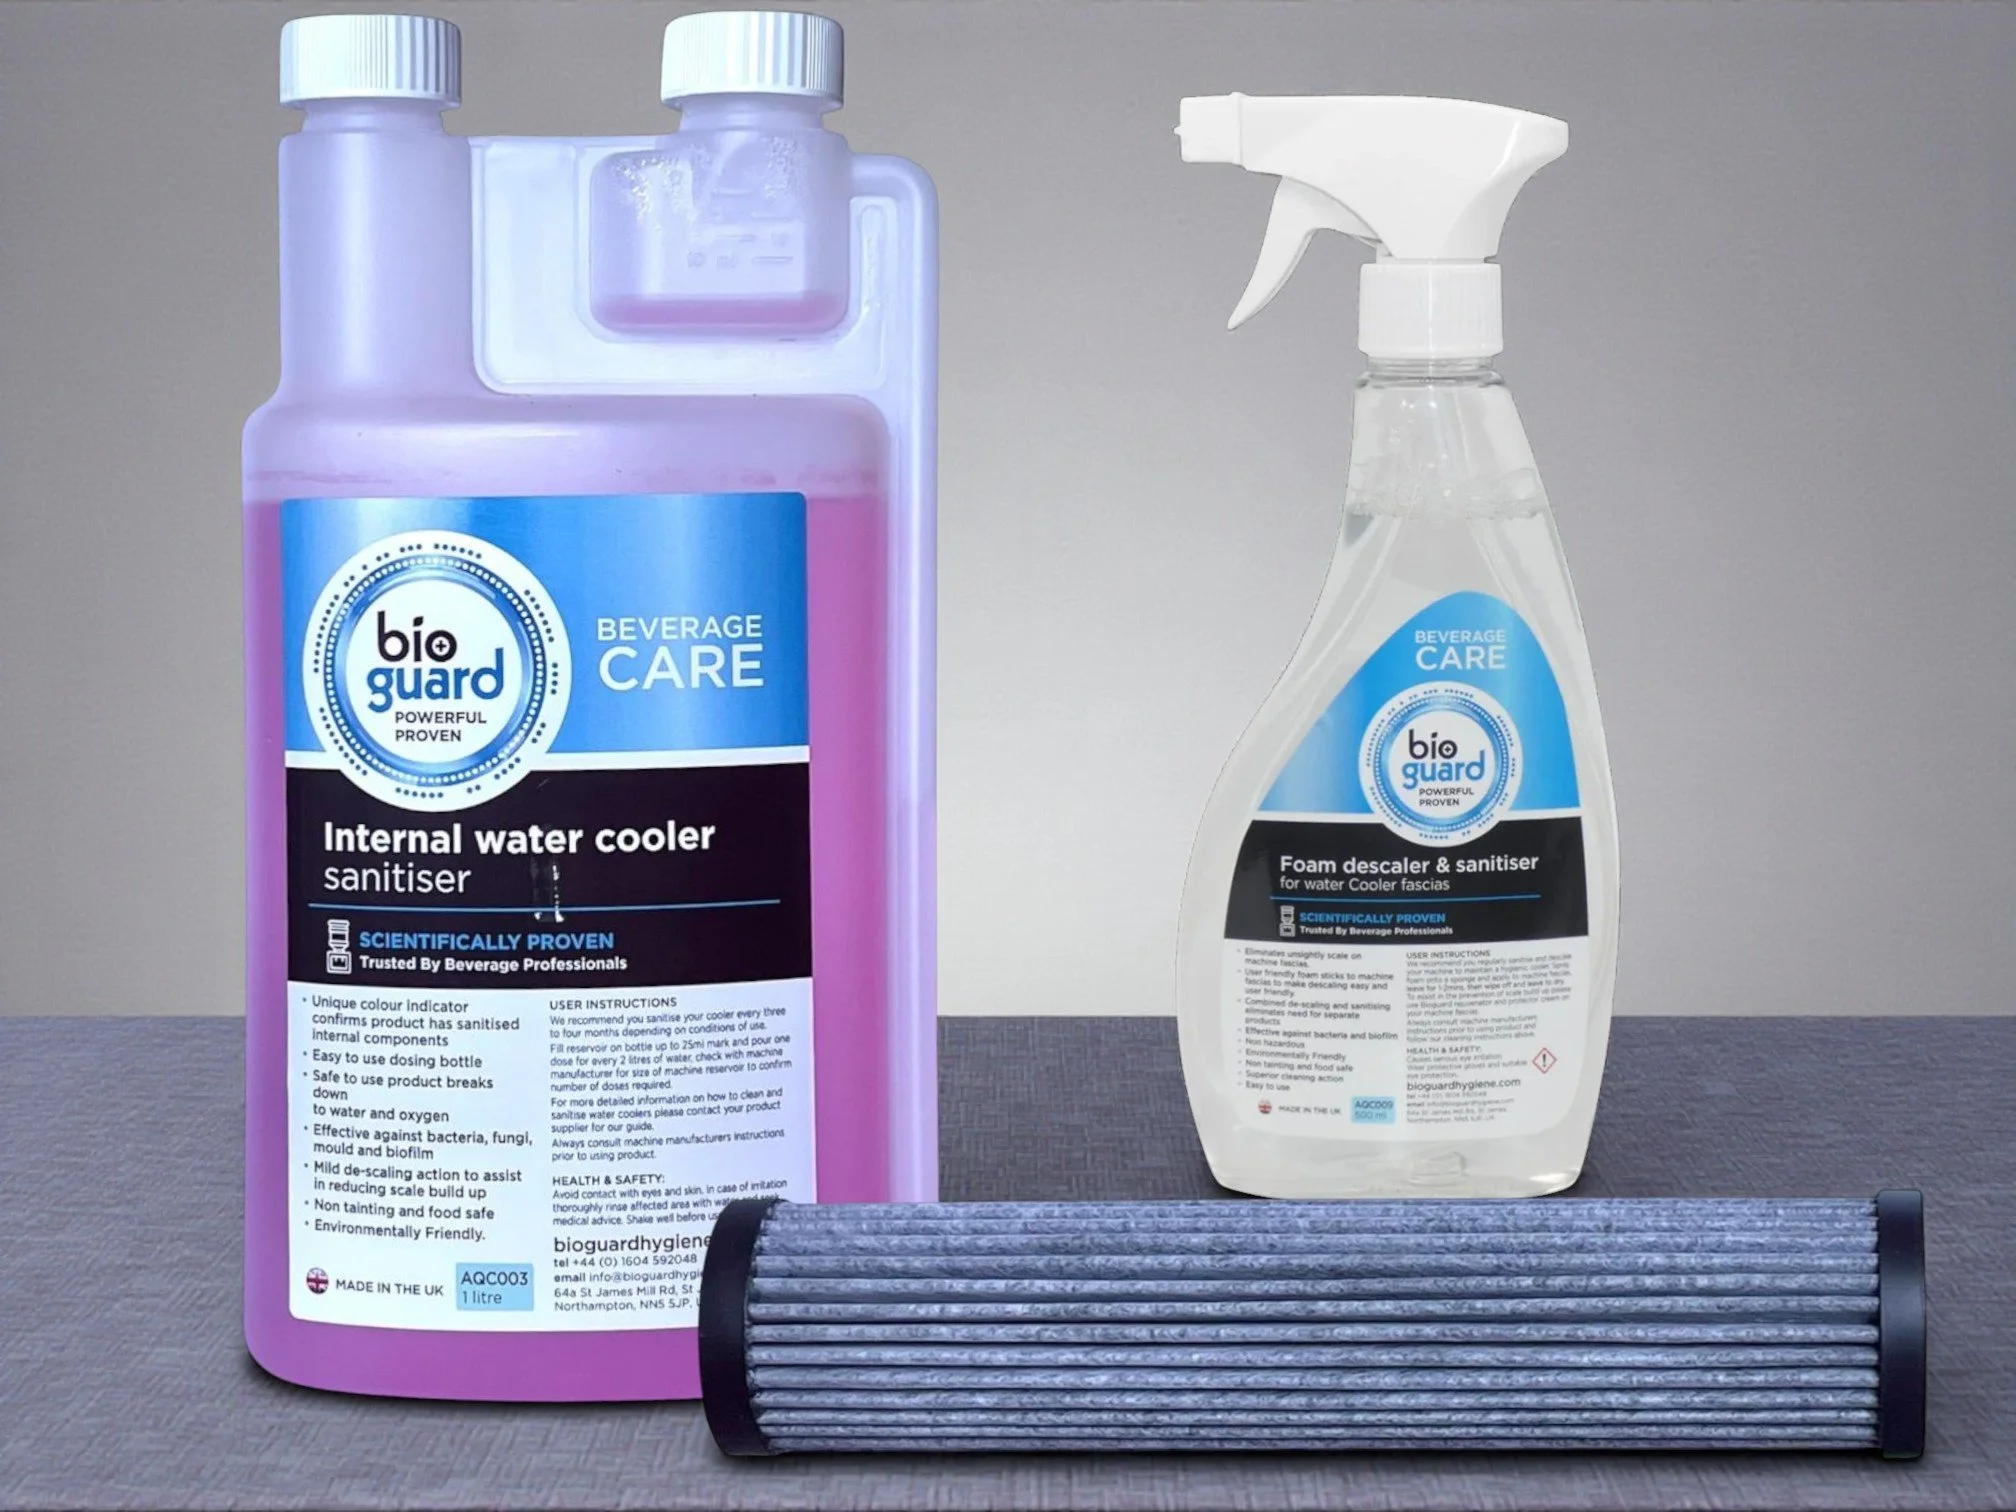
3. Supply Only: Filters & Cleaning Products
Prefer to tackle it yourself — or want spare parts on standby? Browse our shop for:
🛒 Premium water filters
🛒 Sanitising solutions
🛒 Descalers
🛒 Cleaning supplies
Stock up at: www.h2ovend.co.uk/shop
DIY Guide: How to Sanitise Your Water Cooler
For the DIY heroes among you, here’s a practical, easy-to-follow guide to sanitising your cooler using products from our cleaning range.
⚠️ Safety First! Always follow PPE instructions on product labels, work in a well-ventilated area and disconnect electrical power before starting.
What You’ll Need
Before you start, gather:
✔️ Sanitising solution
✔️ Descaler
✔️ Soft cloths or lint-free towels
✔️ Cleaning brush or sponge
✔️ Gloves & safety goggles
✔️ Clean bucket or container
✔️ Replacement water filters (if due)
Step 1 — Turn Off & Disconnect
Switch off the cooler at the mains.
If it’s a bottled unit, remove the water bottle.
⚡ Never clean an electrical appliance that’s plugged in.
Step 2 — Empty Drip Trays
Remove drip trays, grille covers and any removable parts.
Rinse these parts separately with warm water.
Step 3 — Apply Descaler
If you see white chalky build-up or your cooler hasn’t been descaled in a while, this is essential.
Follow the instructions on your descaler solution.
Apply it to affected areas such as drip trays and tap nozzles.
Let it work for the recommended time to dissolve limescale.
Rinse thoroughly with clean water.
Pro tip: Place absorbent towels around the base - you will make a mess!
Step 4 — Sanitise Internal Surfaces
Now for the good stuff — proper sanitisation.
Bottled Cooler
Remove the lid from the bottle reservoir, and pour in the recommended amount of sanitising solution.
Open the taps and drain roughly 1ltr of water through. This allows the sanitising solution to flush into the water trail, pipes and taps.
Allow the sanitising solution to stand for 15 minutes.
Using a soft cloth or brush, wipe all internal surfaces that touch water, such as the reservoir walls, lid, and valve points. Pay special attention to crevices where biofilm can hide.
Replace the reservoir lid and the bottle.
Flush the cooler through with clear water until all sanitising solution has been flushed out.
Mains Fed POU Cooler
Turn the mains water off, unscrew the top cap of the filter housing and remove the old filter candle.
Fill the empty housing with sanitising solution and screw the housing cap back on.
Turn the mains water on and drain roughly 1ltr of water through the taps. This allows the sanitising solution to flush into the water trail, pipes and taps.
Allow the sanitising solution to stand for 15 minutes.
Turn on taps to flush through until clean water is seen.
Turn the mains water off again and place the new filter candle into the housing.
Turn the mains back on and flush copious amounts of water through the taps to remove any residues.
Step 5 — Clean Removable Parts
Take your cleaning brush and sanitising solution to:
Drip trays
Drip grids
Bottle stands
Tap nozzles
These areas often harbour the most grime, so give them a little extra TLC.
Tip: Don’t use abrasive tools — they can scratch surfaces and trap bacteria.
Step 6 — Final Rinse
Once everything is cleaned and sanitised:
Reconnect the power and turn the cooler back on.
Flush the cooler by running several litres through the system.
Ensure no cleaning solution remains.
You’re done! Fresh, safe, hygienic water ready for your team.
How Often Should You Sanitise?
It depends on use, environment, and cooler type — but as a rule of thumb:
Bottled Coolers - Every 3 months
Mains Fed POU Coolers - Every 4-6 months
We can assess and recommend the best schedule for your situation.
Why A Professional Service Beats DIY
DIY is great for regular maintenance — but sometimes your cooler needs the expert eye.
Professional servicing with H2O Vend includes:
🔎 Full internal inspection
🔎 Technical checks (valves, electrics, thermostats)
🔎 NSFW-grade descaling (that’s Not Suitable For Workplace-grade build up) 😅
🔁 Seamless filter rotation
⭐ Complete documentation for audits or health inspections
With a rolling contract, we handle all reminders, scheduling and parts replacement — so you don’t have to.
🛒 Visit Our Shop For Everything You Need
Whether you choose to go solo or bring in the pros, we can supply:
Sanitising solutions
Descalers
Cleaning kits
Replacement filters
As well as cooler packages and much, much more! Take a look at www.h2ovend.co.uk/shop
Unsure which product fits your cooler? Drop us a message — we’re happy to help!
The Bottom Line
Water coolers are amazing — until they aren’t. But with regular cleaning, sanitisation and servicing, you’ll keep your workplace hydrated, happy and healthy.
Whether your unit was bought from us, bought elsewhere, or was gifted by the office legend who now works in HR — we’ll take care of it.
Why Choose H2O Vend?
✔️ We service any water cooler
✔️ One-off or rolling contracts available
✔️ Quality filters and cleaning products online
✔️ Expert techs with years of experience
✔️ Friendly, local UK service
Get in touch today to book your service or ask about a maintenance plan!
💧 Stay fresh. Stay clean. Stay hydrated with H2O Vend.
#H2OVend #WaterCooler #StayHydrated #WorkplaceWellbeing #WaterHygiene #OfficeLife #CleanWater #EastAnglia #WaterCoolersEastAnglia #BottledWaterSupplier #OfficeWater #WaterCoolerService #POUWaterCoolers #SanitisingSolutions #DescalingProducts